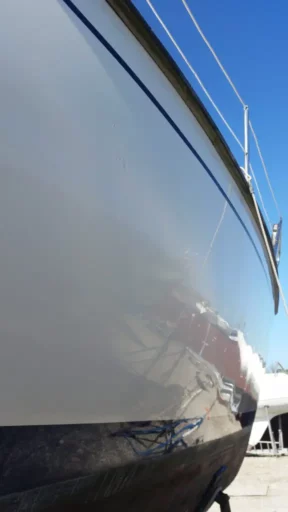
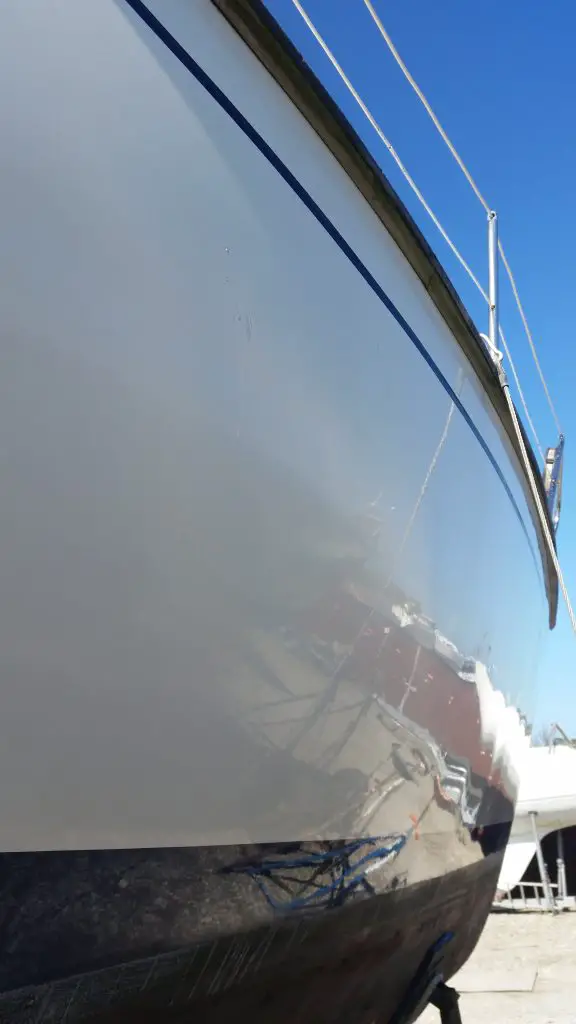
Maintaining your boat’s freeboard is crucial for protecting it from grime, wear, and environmental damage. Achieving a mirror-gloss finish not only makes your boat look great but also protects the gel coat, repels dirt, and extends the lifespan of your boat’s exterior. Here’s a step-by-step guide on how to prepare and maintain freeboard for maximum protection in 2024.
Time and Effort Required for Freeboard Maintenance
Maintaining the freeboard takes time but is manageable if done annually. Expect to spend 2-3 days per year on this task, depending on the size of your boat and the tools you use. You can achieve faster results with the right equipment, but manual polishing may take longer.
Step 1: Cold Wash the Freeboard
The first step is to wash the freeboard thoroughly to remove dirt and grime.
- Use a High-Pressure Cleaner: A basic Nilfisk high-pressure cleaner is sufficient for this task. It effectively removes surface dirt without damaging the boat’s finish.
- Apply Boat Shampoo: Use a high-quality boat shampoo to break down grease and stubborn stains. Opt for a product designed specifically for boats to avoid stripping away protective coatings. Apply with a soft car brush and scrub gently.
- Rinse Immediately: Make sure to rinse the shampoo off before it dries. Work in small sections (a quarter of a 28-foot boat at a time) to avoid soap residue.
Pro Tip: Avoid harsh cleaning agents like toilet cleaners, which may damage the gel coat. Stick to marine-approved products.
Step 2: Remove Streaks from the Freeboard
Once the freeboard is clean, focus on removing streaks and stubborn marks.
- Use Liquid Rubbing Compound: A liquid rubbing compound is highly effective at removing streaks. Apply evenly, focusing on problem areas where dirt and grime build up the most.
- Allow it to Sit: Let the compound sit for 10 minutes before polishing. This helps loosen embedded dirt, making it easier to remove during the polishing stage.
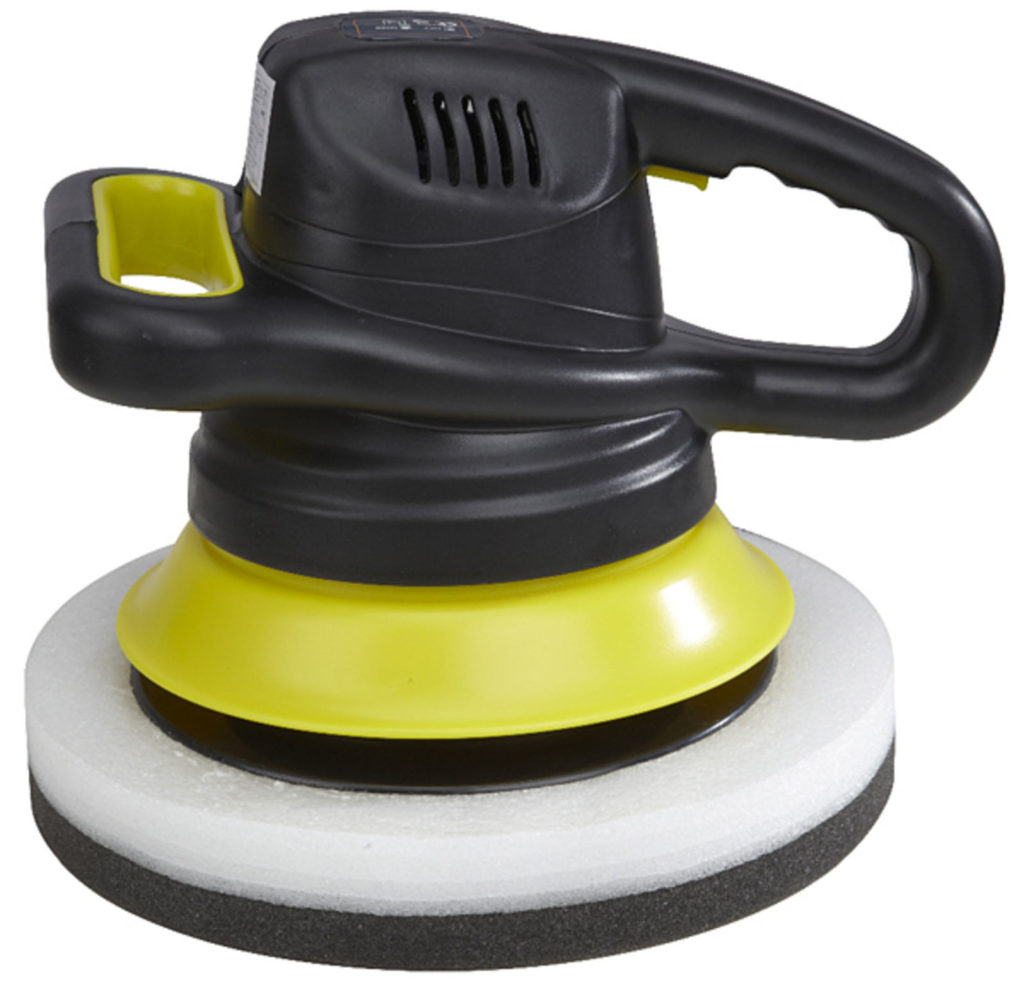
- Polishing Equipment: Invest in a good polishing machine with a large surface area. A lightweight machine with slow-speed settings will help you achieve a smooth, even finish without over-exerting your arms.
Step 3: First Polish – Using Marine Polish
Now that the freeboard is prepped, it’s time to start polishing.
- Apply Marine Polish: Choose a high-quality marine polish designed to both clean and add shine. Products like 3M Marine Cleaner and Wax or Meguiar’s M5616 Marine Wax work well. Apply with a dry cloth in circular motions.
- Wait 10 Minutes: Allow the polish to dry for about 10 minutes. This is crucial to avoid clogging your polishing pad and ensure that the polish bonds to the surface properly.
- Polish with a Machine: Use your polishing machine to buff the polish into the surface. Be cautious about applying polish in direct sunlight, as this can cause “caking,” which is difficult to remove.
Pro Tip: Check your polish product for any specific instructions on sunlight exposure, as this can vary between brands.
Step 4: Final Polish – Applying Wax
Applying wax is the final step, and it adds a protective layer to your freeboard.
- Choose Marine-Grade Wax: Use Hempel’s Marine Wax or similar. Marine-grade wax protects against UV rays and creates a smooth, dirt-repellent surface.
- Apply and Wait: Just like with the polish, apply the wax evenly and let it sit for about 10 minutes before buffing.
- Polish the Wax: Use your polishing machine to bring out the shine and smoothness. The wax creates a barrier that protects the freeboard from environmental damage, including sun exposure and saltwater.
Maintenance Tips for Long-Term Protection
- Wax Every 2 Years: After completing this six-step process, your freeboard can stay protected for up to two years before needing another treatment.
- Regular Cleaning: Rinse the freeboard after every outing to prevent dirt buildup, which can degrade the polish and wax over time.
Pro Tip: A mirror-gloss finish not only makes your boat look fantastic but also simplifies future cleaning since dirt will easily wash off.
Additional Tools and Products for Freeboard Maintenance
To achieve the best results, it’s important to use high-quality products. Here are some top recommendations:
- High-Pressure Cleaner: Nilfisk C 120 – affordable and efficient for cleaning freeboards.
- Boat Shampoo: Star Brite Boat Wash – effective in removing grease and stains.
- Rubbing Compound: 3M Perfect-It Rubbing Compound – ideal for removing oxidation and streaks.
- Polishing Machine: DeWalt DWP849X Polisher – reliable, with adjustable speed settings.
- Marine Polish: Meguiar’s M5616 Marine Wax – dual-purpose polish and wax for cleaning and protection.
- Marine Wax: Hempel’s Marine Wax – offers UV protection and a long-lasting shine.
Time-Saving Tip: Use Technology
If manual polishing feels too time-consuming, consider using a dual-action polisher to speed up the process. These machines offer greater control and can significantly reduce the physical strain of polishing by hand.
Conclusion: Enjoy a Durable, Mirror-Gloss Freeboard
Maintaining your boat’s freeboard doesn’t have to be a chore. With the right tools, products, and methods, you can achieve a durable, mirror-gloss finish that protects your boat for years. Regular upkeep will keep your boat looking new and ensure that your investment lasts.
By following these steps, you’ll ensure that your freeboard is not only aesthetically pleasing but also well-protected against the elements. Proper maintenance reduces long-term costs and effort, making each sailing season more enjoyable.

